
How to install Linux on a Toshiba M200 Across a Network
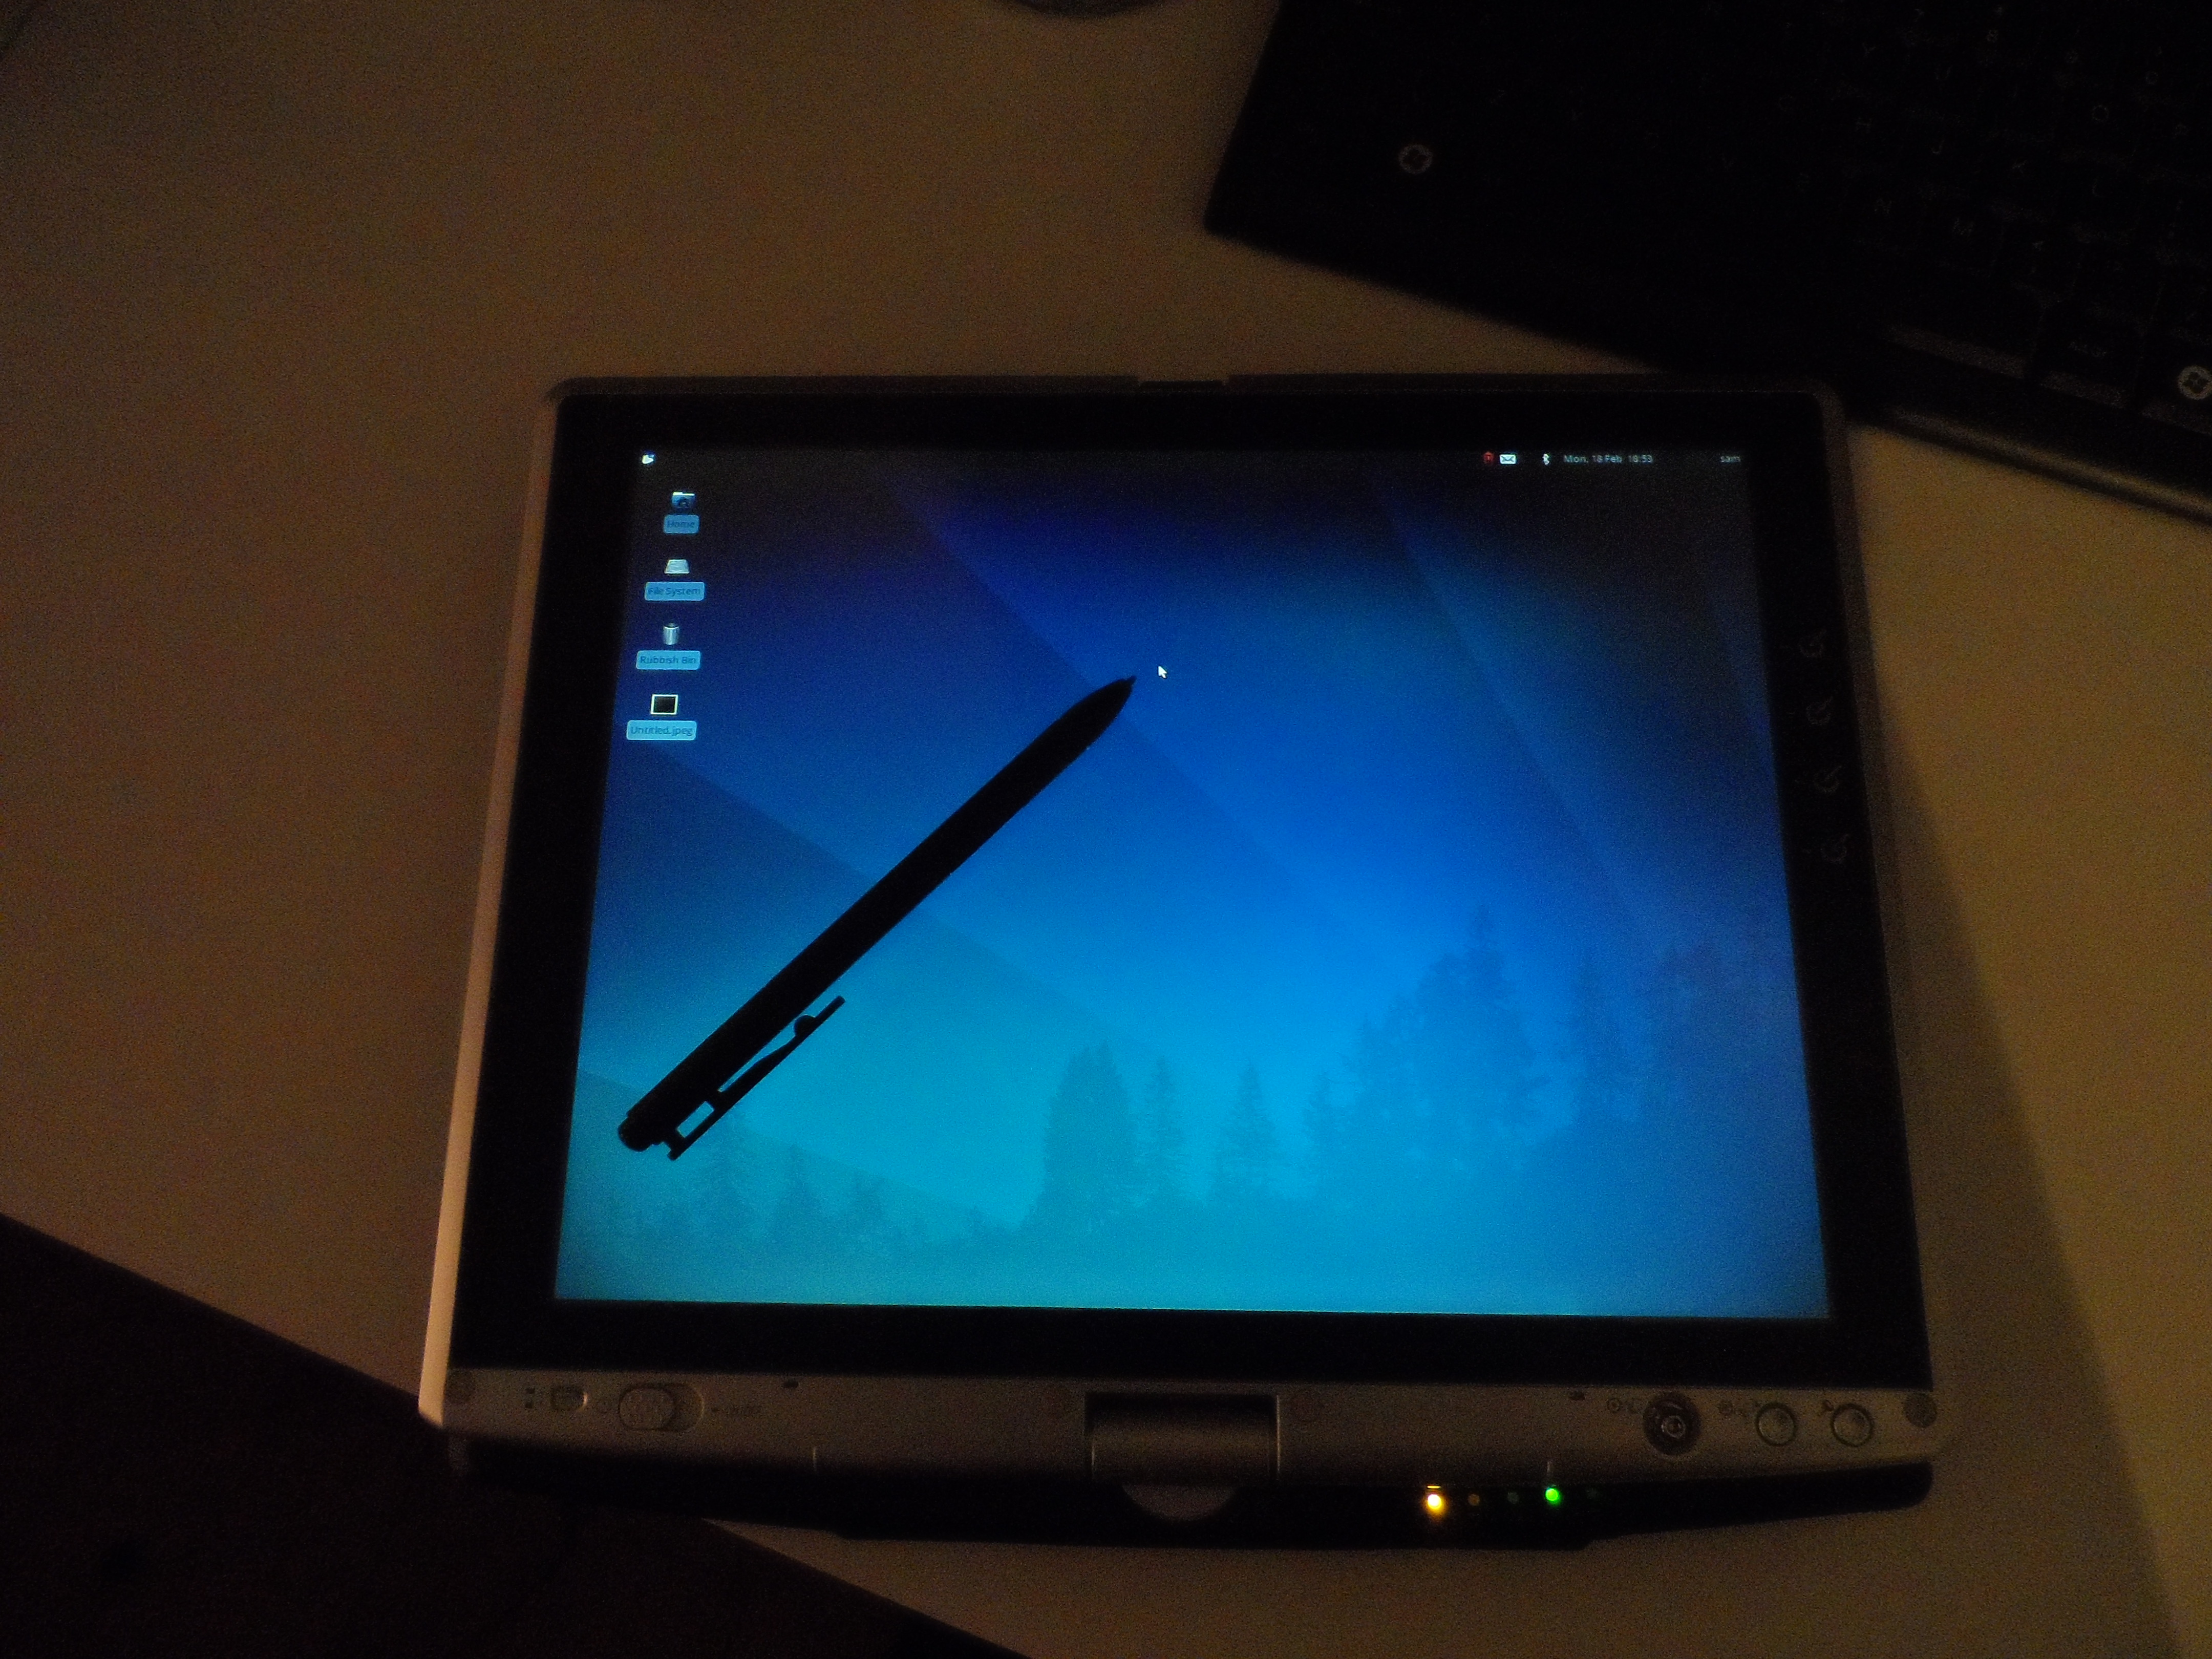
Recently I got a Toshiba M200 courtesy of one of my Dads friends at work as he no longer had any need of it. For those of you who are too lazy to google it, the M200 is one of those tablet PCs with the rotating screen that folds back on its self. It’s pretty awesome and I was looking forward to using however as I soon found out it is a pain in the arse to install anything on it.
It lacks a CD drive so the traditional method of installing an operating system was out, no problem I thought I’ll just install my linux flavour of choice off a USB drive. Nope. For some bizarre reason the laptop doesn’t support it despite being able to boot from Toshiba only USB external CD drives. Then I turned to google and discovered that you could boot from a SD card but only if the card was set up with some obscure Toshiba application. So then I took the hard drive out and tried to boot an install of that, this resulted in more problems this time with pae which Ubuntu recently stopped supporting and more errors with partitioning.
Finally I resorted to attempting to boot it from the network, after a little research I found a way to do it from windows using a program called “tftpd32” to boot into a special version of Ubuntu, so that I could install it.
Now I’ll go through how I did it step by step so that anybody going through the same thing we’ll be able to do it a bit more easily, bear in mind this should work for any laptop or PC cable of being booted from a network not just the Toshiba M200.
How to install Ubuntu across a Network:
Requirements: A second PC or Laptop (We’ll call it “PC A”), the PXE capable PC you’re install on (We’ll call it “PC B”), Downloaded version of Ubuntu.
- Download and install/extract the latest version of tftpd32 to C:\tftpd
- Then download a net boot version of Ubuntu I used 12.04, I put it in a zip for you here if you want to user it too.
- Put it in to a folder called “netboot” inside of tpftpd.
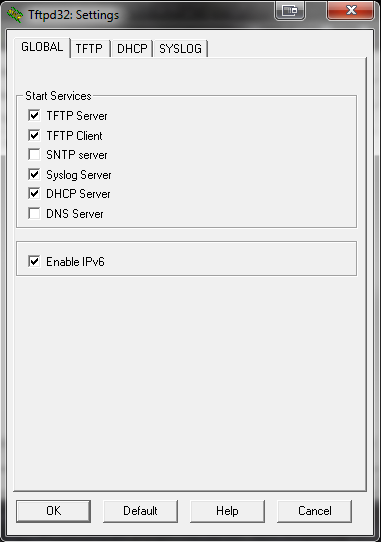
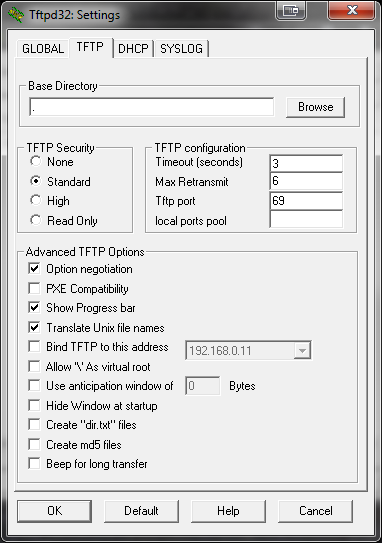
- Now open up tftpd32 and click on the settings and set them up as you see below:
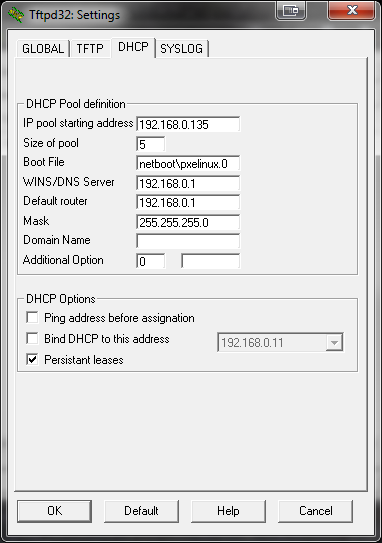
- For the DHCP tab I thought I’d provide a bit more guidance:
- IP Starting Pool – This is the IP that will be assigned to the client, PC B
- Boot File – This is very important set this to “netboot\pxelinux.0”
- WIN/Default Router – Set this to your specific IP address of your router it’ll be something like 192.168.0.1
- And finally uncheck “Ping Address Before Assignation”
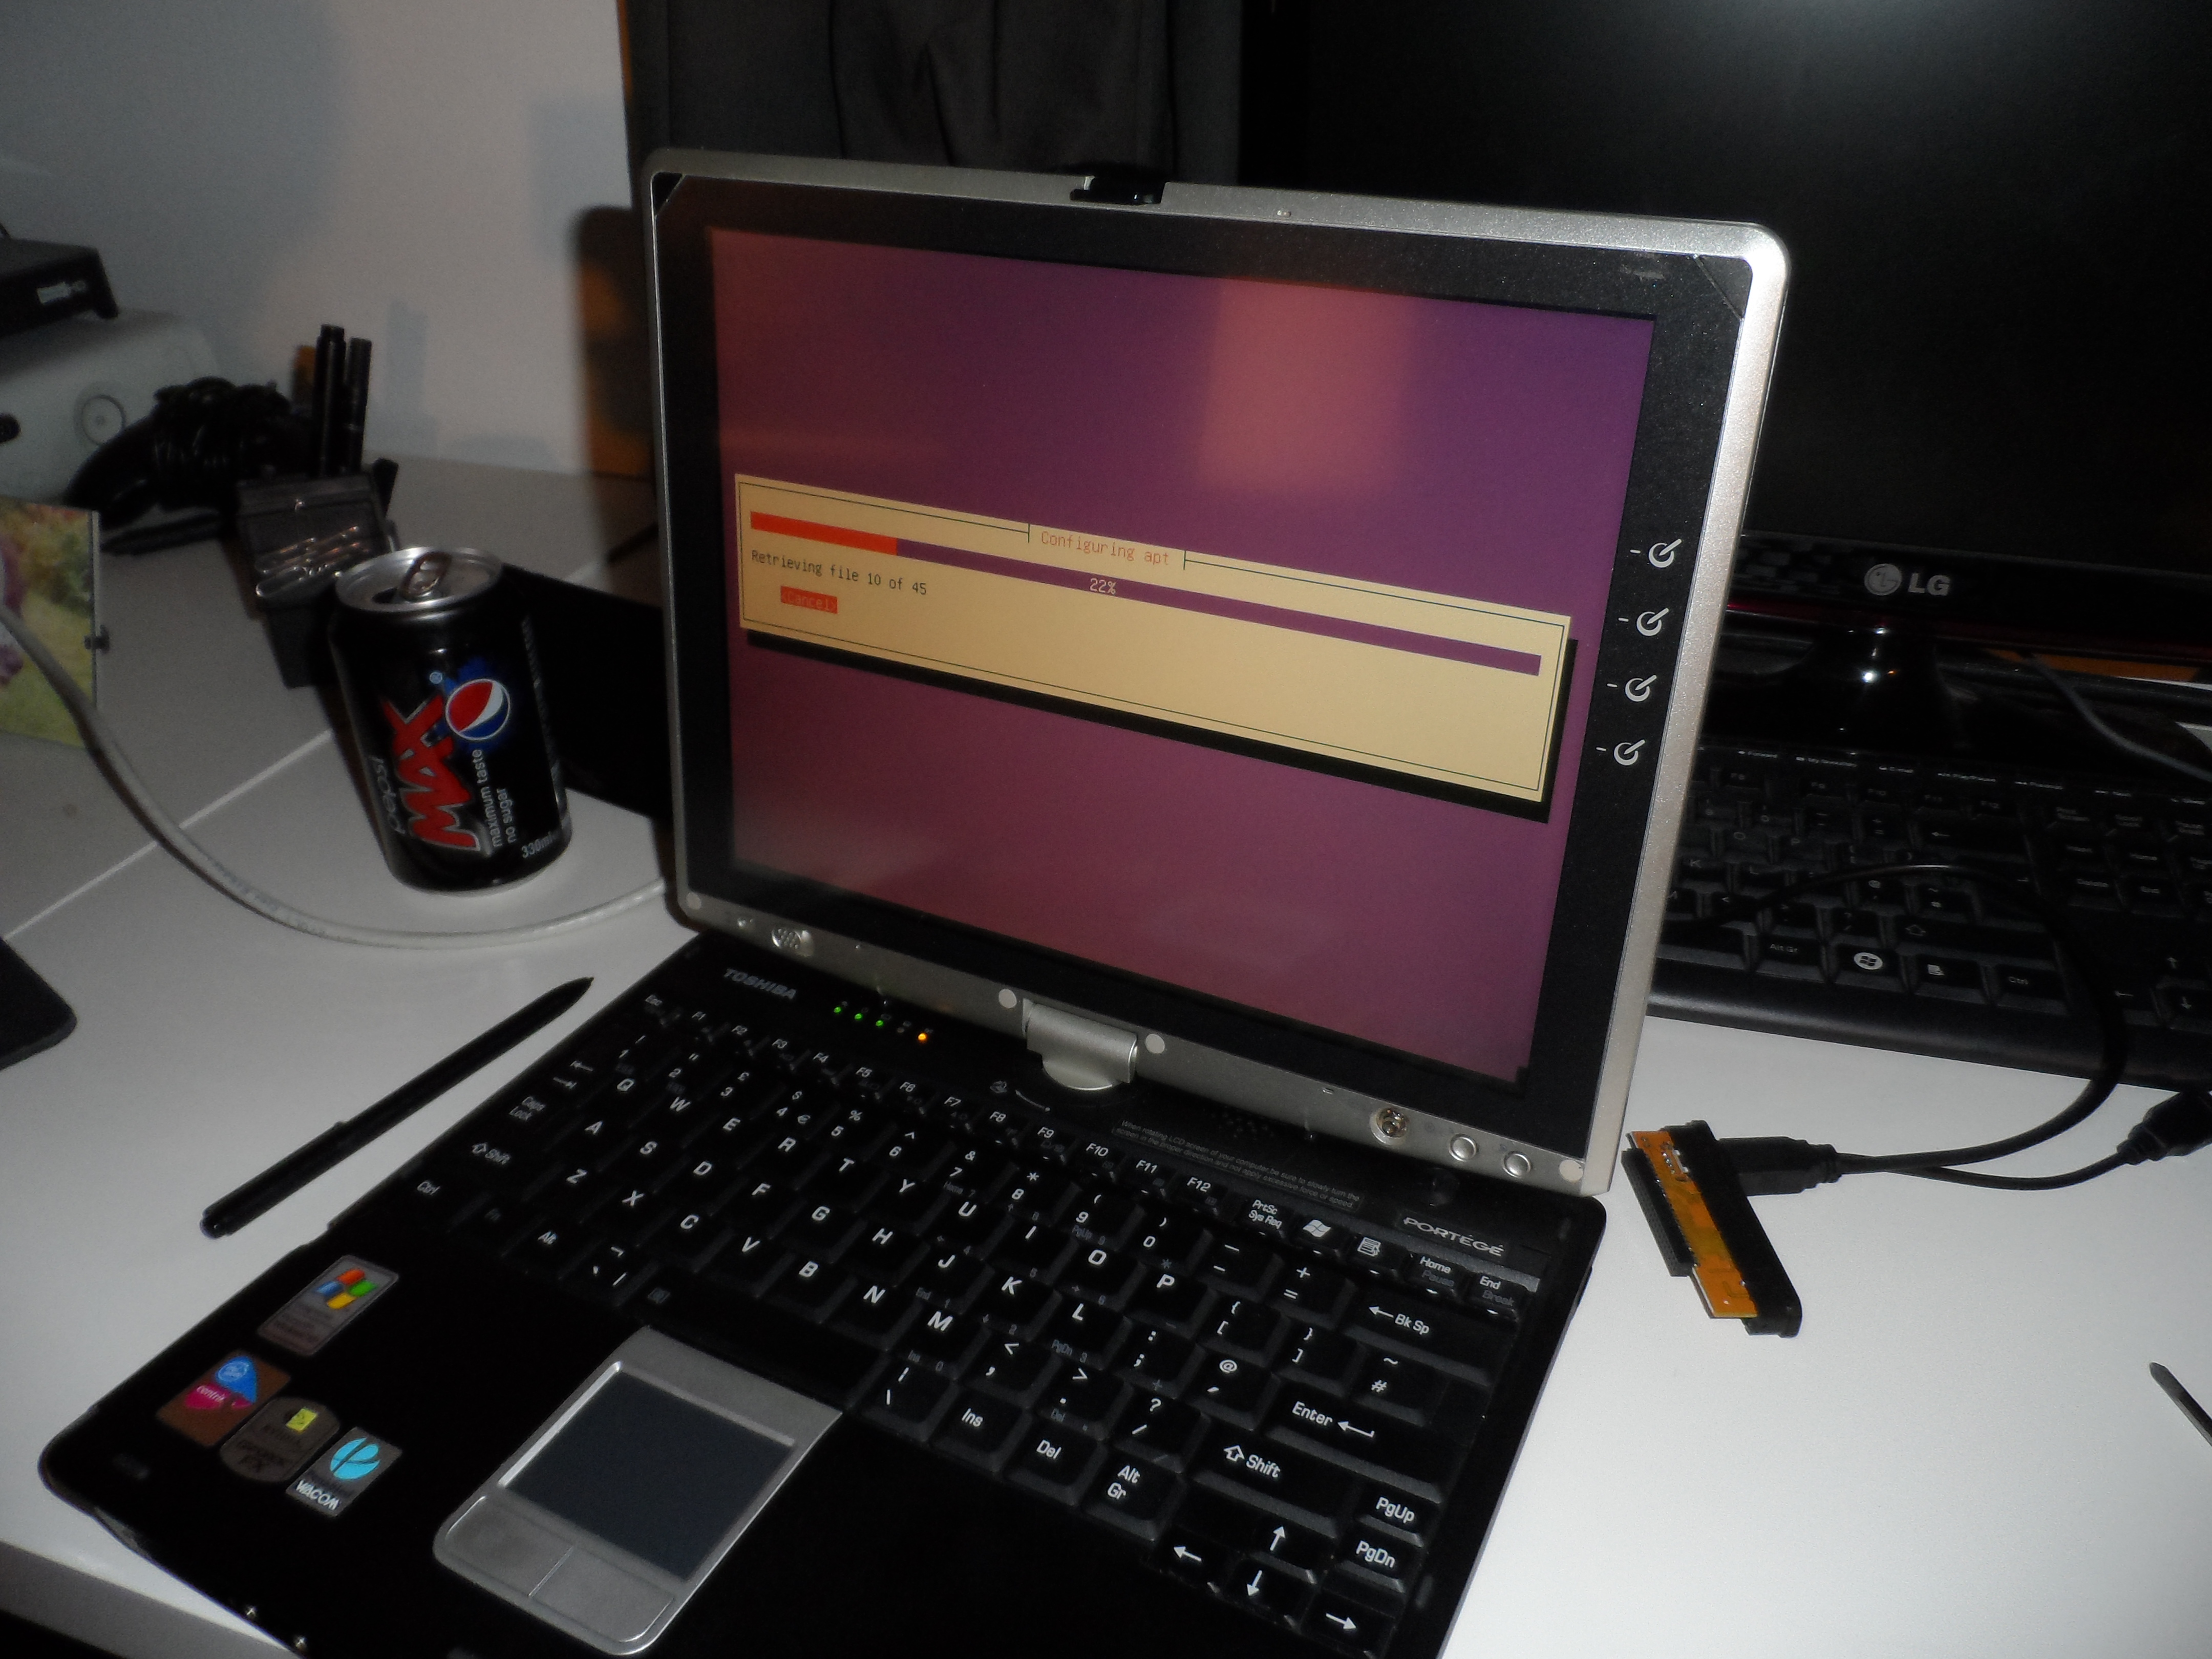
- Now boot up Laptop B and select PXE or Network boot, on the M200 you do this by spamming F2, on the bios screen and selecting the network icon
- It should boot up to a familiar Ubuntu install screen, if its unfamiliar don’t worry just follow the on screen instructions is fairly simple.
And there you have it; it should now be fully functional except you’ll have to go through the normal part of installing drivers etc. However I’m not a huge fan of Unity, and I’m sure many of you feel the same. My original plan was to install xubuntu but I couldn’t find a net boot image, so I thought I’d show you how to install Xubuntu-Desktop on Ubuntu. It’s quite simple you just type “Sudo apt-get install Xubuntu-Desktop” in the Terminal. Then once it’s finished that rather lengthy process, log out and in again this time picking xubuntu desktop session and that should be that.

Leave a comment